
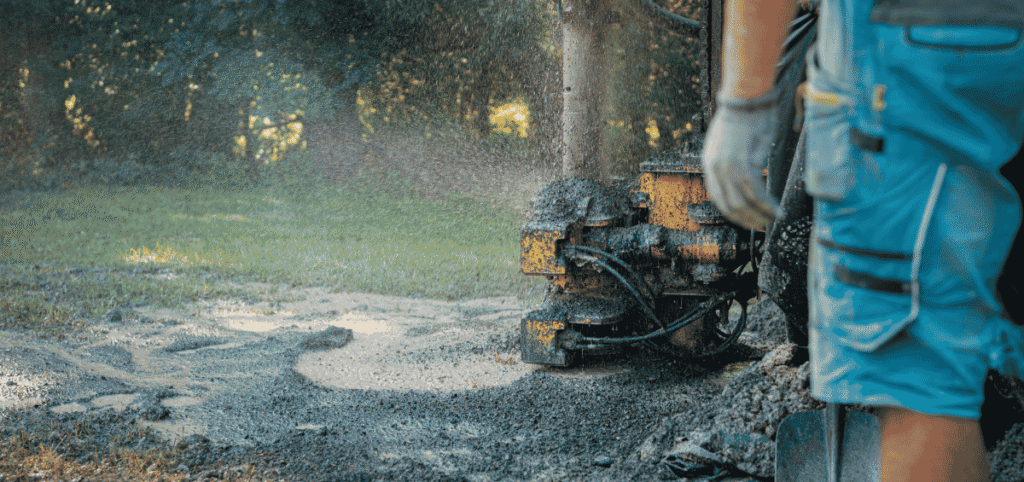
One of the first questions homeowners ask before starting a well project is:
“How long does it take to drill a water well in Southern Oregon?”
It’s a great question, but it’s also one of the biggest misconceptions I encounter.
Many people assume that once the drilling rig arrives on their property, they’ll have running water within a day or two. I understand why. Modern drilling rigs are incredibly powerful and can drill hundreds of feet into the ground surprisingly quickly.
But here’s the reality I explain to every client.
Drilling the well is only one part of the project.
Finding water is a major milestone, but it isn’t the finish line. Before that water can safely flow from your kitchen faucet, the well still needs to be developed, tested, equipped, connected, and often treated.
After years of working on residential water well projects, I’ve learned that the drilling itself is frequently the shortest part of the entire process.
The Biggest Misconception About Water Well Drilling
The biggest misunderstanding homeowners have is believing that drilling equals completion.
People see the drilling rig pull into the driveway and assume that because it can drill a 300-foot well in a day or two, they’ll be drinking well water by the weekend.
That almost never happens.
Hitting water is only halfway through the project.
The well still needs to be cleaned, tested for production, analyzed for water quality, fitted with the correct pump, connected to pressure tanks, and, if necessary, equipped with water treatment systems before it’s ready for everyday household use.
In many cases, those final stages take longer than the drilling itself.
What Happens After the Drilling Rig Arrives?
Every property is different, but this is the typical timeline homeowners can expect.
Step 1: Setting Up and Drilling the Well
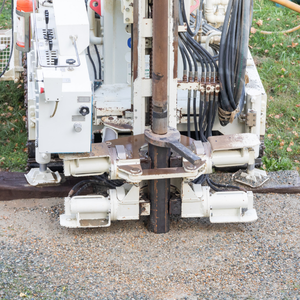
Once the drilling crew arrives, they position the drilling rig, stabilize the equipment, and begin drilling.
As the hole gets deeper, steel or PVC casing is installed to prevent the upper sections of the well from collapsing.
For most residential wells between 200 and 350 feet deep, this stage typically takes:
- 1 to 2 days
Several factors can extend drilling time, including:
- Extremely hard rock formations such as granite
- Underground voids or fractured rock
- Loose sand requiring additional casing
- Equipment maintenance caused by excessive wear on drill bits
One thing almost every homeowner comments on is how loud and messy this stage is. Read our latest blog: How Deep Does a Water Well Need to Be?
There will be drilling mud, rock cuttings, heavy equipment, water, and plenty of noise.
That’s completely normal.
Step 2: Developing the Well
Finding water doesn’t mean the well is ready to use.
The drilling process leaves behind drilling fluids, fine sediment, and rock particles that need to be removed.
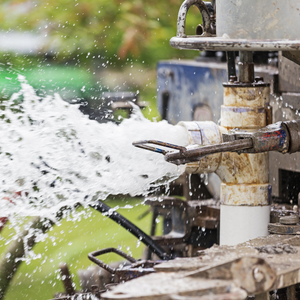
Using high-pressure air or specialized pumping equipment, the drilling crew develops the well by flushing these materials until the water begins running clear.
This process generally takes:
- 4 to 8 hours
Clay-rich formations or excessive sediment can extend this process.
Many homeowners become excited when they see clear water flowing from the well.
Unfortunately, that doesn’t mean it’s ready to drink.
Step 3: Pump Testing
Next comes one of the most important parts of the project.
A temporary test pump is installed to determine how much water the well can safely produce over an extended period without running dry.
During the test, technicians measure:
- Gallons per minute (GPM)
- Water level drawdown
- Recovery rate
- Long-term production capacity
This process generally takes:
- 1 to 2 days
Lower-producing aquifers sometimes require additional testing to verify sustainable output. Read our latest blog: How Much Does It Cost to Drill a Water Well in Southern Oregon?
Step 4: Water Quality Testing
While production testing is underway, water samples are collected and sent to a certified laboratory.
The laboratory analyzes the water for:
- Coliform bacteria
- E. coli
- Iron
- Manganese
- Nitrates
- Hardness
- pH
- Heavy metals
- Other naturally occurring contaminants
Laboratory turnaround typically takes:
- 3 to 7 business days
Step 5: Installing the Permanent Well System
Once production and water quality are confirmed, the permanent equipment can finally be installed.
This generally includes:
- Submersible well pump
- Drop pipe
- Electrical wiring
- Pressure tank
- Pressure switch
- Well cap
- Water treatment equipment if necessary
- Plumbing connections into the home
Most residential installations take:
- 1 to 2 days
So How Long Does the Entire Process Take?
If everything goes smoothly, most homeowners can expect the complete project to take:
- Approximately 1 to 2 weeks from drilling to usable household water
If difficult geology, equipment delays, poor water quality, or custom treatment systems are involved, the timeline can easily extend to several weeks.
One of the Fastest Well Projects I’ve Seen
…
The Biggest Lesson
When your goal is irrigation rather than household drinking water, the overall timeline can often be significantly shorter.
The Longest Well Project I Can Remember
…
The Biggest Lesson
Just because water comes out of the ground doesn’t mean the project is finished.
The Advice I’d Give a Friend
If a close friend asked me how long their well project would take, my answer would be simple.
- Plan for two weeks.
- Hope for one.
- Don’t celebrate until you’re filling a glass of water in your kitchen.
I would also tell them three things.
Expect Your Property to Become a Job Site
For the first couple of days, your driveway and yard will be occupied by heavy equipment, drilling mud, support vehicles, hoses, and rock cuttings.
Don’t Worry About the Quiet Days
Many homeowners become concerned when the drilling crew leaves and nothing appears to happen for several days.
Don’t Buy Equipment Before Testing Is Complete
One mistake I see repeatedly is homeowners purchasing pumps, pressure tanks, or water treatment equipment before production testing and laboratory analysis are finished.
The Biggest Mistake Homeowners Make
The most common self-inflicted delay happens when homeowners schedule other contractors too soon.
They book:
- Landscapers
- Irrigation installers
- Concrete contractors
- Electricians
My advice is simple.
Don’t schedule any follow-up contractors until your well pump has been installed, tested, and is supplying water reliably.
The Most Valuable Lesson I’ve Learned
If there’s one thing I wish every homeowner understood before drilling begins, it’s this:
You Are Not Buying a Water Well
You are investing in exploring what’s beneath your property.
Nature determines:
- Whether groundwater exists
- How deep it is
- How much water is available
- What the water quality will be
A Story That Explains This Perfectly
I once watched two neighboring homeowners drill wells at nearly the same time.
The Difference Between the Two Homeowners
- The first homeowner treated the project like buying a guaranteed product.
- The second homeowner understood they were investing in an exploration.
The Outcome
The first homeowner stopped drilling too early and ended up with a dry well. The second budgeted for uncertainty, continued drilling, and discovered an excellent aquifer that supplied the home with reliable water for years to come.
Final Thoughts
Every well project is different because every property is different.
The geology beneath your home doesn’t care what happened on your neighbor’s property or how quickly someone else’s well was completed.
The most successful homeowners understand that drilling is only one part of a much larger process.
- Go into your project with realistic expectations.
- Build extra time into your schedule.
- Maintain a contingency budget.
- Avoid rushing other contractors.
- Focus on the complete process, not just the drilling.
Most importantly, remember that you’re not simply paying someone to drill a hole.
You’re investing in discovering one of the most valuable natural resources beneath your property.